
Learn Face Painting
Easy Lion Face Paint Tutorial: A Step-by-Step Guide for 2026
Last Saturday, you finally sat down with your brushes, ready to follow an easy lion face paint tutorial, only to find yourself sweating as your little one started to wiggle. You aren’t alone in feeling that sudden wave of panic when a simple whisker turns into a smudge or the left side doesn’t quite match the right. At Face Painting Course Online, we understand that the real challenge isn’t just the art; it’s keeping a restless child engaged while you strive for professional symmetry. We believe that stunning results come from structured learning, and we’re here to turn that creative spark into a polished, repeatable reality.
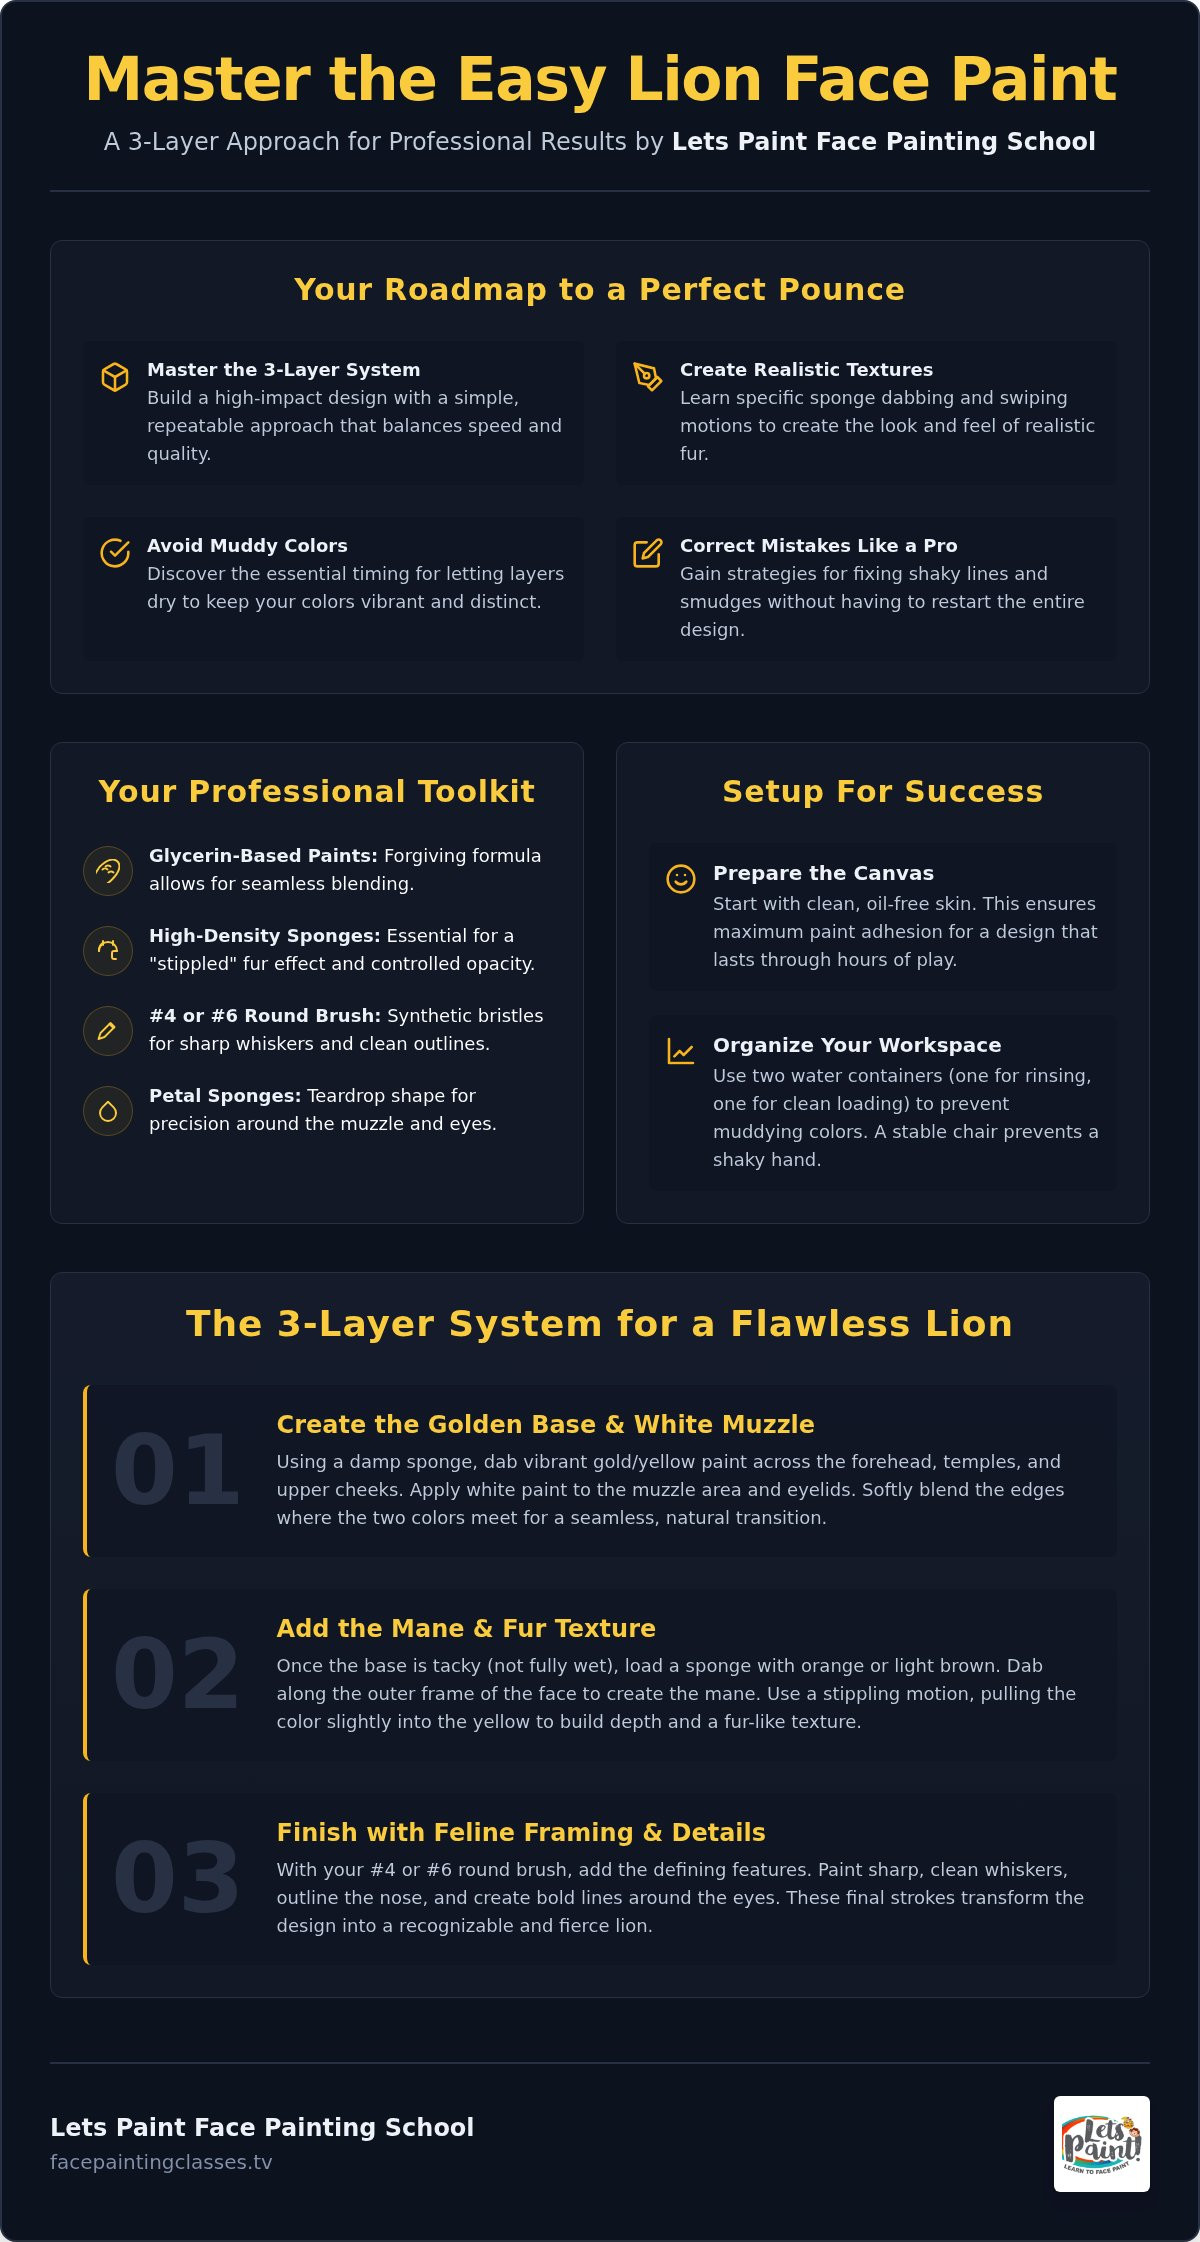
This mentor-led guide is your roadmap to mastering a professional-looking design in just a few minutes. We’ve simplified the process into a system that prioritizes speed and impact, ensuring you stay calm even when your subject is ready to pounce. We’ll walk you through a proven three-layer approach: building a vibrant golden base, adding delicate fur textures, and finishing with the bold feline framing that defines the look. By following these steps, you’ll gain the confidence to create a design that makes every child roar with joy and sets the stage for your journey into more complex animal designs.
Key Takeaways
- Learn how to build a high-impact lion design using a simple three-layer approach that prioritizes both speed and professional quality.
- Follow our easy lion face paint tutorial to master the specific sponge dabbing and swiping motions that create realistic fur textures.
- Discover the essential timing for letting layers dry to prevent colors from becoming muddy or blending unintentionally.
- Gain professional strategies for correcting shaky lines and smudges without having to restart the entire design.
- See how mastering this staple design prepares you for the more advanced techniques found in the Animal Face Painting Designs course at Lets Paint Face Painting School.
Getting Started with Your Lion Face Painting Design
The lion is more than just a popular choice at birthday parties; it’s a foundational milestone for every aspiring artist. Mastering this easy lion face paint tutorial gives you a versatile design that works for all ages and skill levels. There’s a profound psychological boost that comes from completing a high-impact design early in your journey. It transforms the feeling of being a “beginner” into the confidence of a creator. At Lets Paint Face Painting School, we teach that professional results are the product of a structured process rather than just luck. You don’t need years of experience to succeed. You simply need a logical, layered approach that builds your skills one brushstroke at a time. Embrace the learning curve; every smudge is simply a lesson in pressure and water control.
Essential Supplies for a Professional Finish
Your tools dictate your texture. For those just starting out, we recommend choosing glycerin-based paints. These stay workable on the skin longer than wax-based alternatives, allowing for the seamless blending required for a golden lion glow. Glycerin-based formulas are remarkably forgiving, making them the perfect partner for your first easy lion face paint tutorial. Having the right kit ensures you aren’t fighting your materials while you learn.
- High-Density Sponges: These are essential for creating a “stippled” fur effect. Their firm structure prevents the paint from soaking in too deep, which gives you better control over color opacity.
- Synthetic Brushes: Choose a #4 or #6 round brush for your detail work. Synthetic bristles maintain their “snap” and point, which is vital for sharp feline whiskers and clean outlines.
- Petal Sponges: These teardrop-shaped tools help in shaping the muzzle and eye areas with professional precision.
Preparing the Skin and Your Workspace
A professional finish starts before the first drop of paint hits the face. Ensure your model’s skin is clean and free of heavy oils or lotions. These can cause the paint to bead or slide, ruining your hard work. Maximum adhesion is the secret to a design that lasts through hours of play. If the skin is particularly oily, a quick wipe with a damp cloth is usually enough to prepare the canvas.
Organize your workspace to minimize unnecessary movement. Set up a “water station” with two separate containers: one for rinsing dirty brushes and one with clean water for loading fresh paint. This simple habit prevents your bright yellows from turning into a muddy brown. Position your model in a sturdy chair at a height that doesn’t require you to hunch. Comfort leads to stability. When you’re physically stable, your hand remains steady, making those intricate details much easier to execute. This level of preparation is a core principle we emphasize at Lets Paint Face Painting School to ensure your artistic journey is as smooth as your blending.
Step-by-Step Easy Lion Face Paint Tutorial
Now that your canvas is prepped, it’s time to bring the king of the jungle to life. This easy lion face paint tutorial relies on a logical progression from the broadest shapes to the finest details. By working in layers, you maintain control over the design and avoid the frustration of colors bleeding together. Remember to let each layer dry slightly before moving to the next; this small pause is the difference between a professional finish and a muddy result. At Lets Paint Face Painting School, we believe that patience in the early steps creates the best foundation for your artistic growth.
Creating the Golden Base and White Muzzle
Start by loading a damp sponge with a vibrant yellow or gold paint. Dab this color across the forehead, temples, and upper cheeks, leaving the center of the face clear for now. Next, use a clean sponge to apply white paint to the muzzle area, the eyelids, and the space just above the eyebrows. This contrast is vital because it creates the classic feline structure that makes the design recognizable. As you work, keep your eye on the T-zone of the face to maintain symmetry. If you find yourself wanting to dive deeper into these foundational strokes, our Animal Face Painting Designs module offers even more technical guidance for aspiring pros. Use a clean, slightly damp sponge to softly blend the edges where the yellow meets the white, creating a seamless transition that looks soft and natural.
Adding the Mane and Feline Features
Once your base is tacky to the touch, use an orange or light brown to sponge the outer frame of the face. This creates the mane. Use a dabbing motion to mimic the look of fur, pulling the color slightly into the yellow base to build depth. For the face, use a round brush to paint a small black heart shape on the tip of the nose. Connect this nose to the upper lip with a thin vertical line, often called a philtrum in professional circles. Finally, add the cat eye flick. Start at the inner corner of the eye and sweep a thin black line along the lash line, extending it upward toward the temple. Take your time with these final outlines. A steady hand and a slow pace will ensure your lion looks fierce rather than messy. Don’t forget to add a few dots on the muzzle for whisker attachments to complete the transformation.
Mastering the Mane: Key Sponge and Brush Techniques
Achieving a majestic mane is about more than just color; it’s about movement and texture. While the previous steps established the shape, this part of the easy lion face paint tutorial focuses on the technical execution that elevates your art from a simple costume to a professional masterpiece. How you hold your tools determines the “life” in your design. For the mane, hold your sponge with a light, controlled grip, pinching it slightly to create a more focused surface area. This allows you to control exactly where the pigment lands without overwhelming the gold base you’ve already established.
The secret to realistic fur lies in the difference between dabbing and swiping. A dabbing motion, often called stippling, creates the illusion of density and depth. It’s perfect for the thickest parts of the mane. In contrast, a swiping motion is used for blending colors together. To suggest a wild, messy mane, use “flick” motions. Start your brush or sponge at the edge of the face with firm pressure, then quickly lift it away as you move outward. This creates a tapered, hair-like stroke that looks natural and energetic. At Lets Paint Face Painting School, we teach these rhythmic movements to help students find their artistic flow.
Using Sponges for Soft Fur-Like Blending
Water control is the most common hurdle for beginners. Your sponge should feel like a damp cloth, not a wet rag. If you see drips, you’ve used too much water. Load your sponge with just enough paint to create a creamy consistency. Start at the outer edges of the face with your darkest orange or brown and work inward. This creates a beautiful gradient effect that draws the eye toward the center of the lion’s face. For those looking to dive deeper into these mechanics, our guide on face painting sponge techniques provides a comprehensive look at professional blending.
Perfecting Lion Whiskers and Detail Line Work
Steady hands aren’t a gift; they’re a technique. Use the “anchor point” method by resting your pinky finger lightly on the model’s chin or cheek. This creates a pivot point that stabilizes your brush. When painting whiskers, apply firm pressure at the start of the stroke and gradually release it as you pull the brush away. This creates a thin-to-thick line that looks delicate rather than heavy. For whisker dots, barely touch the tip of the brush to the muzzle. Line work mastery is the secret to professional designs. By mastering these specific movements, you’ll find that this easy lion face paint tutorial becomes a foundation for every animal design you attempt.
Common Challenges and Simple Lion Variations
Every artist, no matter their level, faces the occasional shaky line. It’s a natural part of the journey as you master this easy lion face paint tutorial. One of the most important lessons we share at Lets Paint Face Painting School is the concept of distance viewing. Your design is meant to be seen from at least three feet away. While you might see a slight wobble in a whisker while working inches from the face, the audience sees a fierce, professional lion. Don’t let perfectionism slow you down; focus on the overall energy of the piece. Adapting the design for different ages is equally vital. For a toddler, keep the paint away from the mouth and eyes to prevent smearing. For older children or adults, you can add more intricate fur details to suit their larger features.
Troubleshooting Symmetry and Smudging Issues
Achieving perfect symmetry is often the biggest frustration for beginners. To help, imagine a vertical line running down the center of the face. Mark a tiny, invisible “center point” on the forehead with your sponge to align the peak of the mane. This simple reference helps you keep the left and right sides in balance. If your black paint starts to bleed into a wet yellow base, don’t panic. Take a clean, slightly damp brush and gently lift the stray pigment. This “erasing” technique saves you from wiping off the entire design and starting over. If you’re working with a wiggly child who moves during the nose painting, simply turn the smudge into a “fur” texture by flicking the paint outward with your brush. It’s about turning mistakes into artistic choices.
Quick 2-Minute Lion for Busy Events
When you have a line of twenty kids waiting, you need a high-impact version of this easy lion face paint tutorial. Strip the design down to its core essentials. Focus on the “impact areas” like the eyes and the muzzle. You can skip the full-face yellow base and instead sponge a “crown mane” around the forehead and cheeks. This provides the color and shape of a lion without the time-consuming blending. Add a quick nose, three whisker dots on each side, and a few feline flicks around the eyes. For more speed-painting strategies, you can explore our animal face painting designs guide. If you’re ready to turn these quick sketches into a professional career, enroll in our Animal Face Painting Designs course today to master the art of efficiency.
Elevate Your Artistry with Lets Paint Face Painting School
You’ve now completed your first easy lion face paint tutorial, but this single design is just the beginning of your creative potential. While many beginners rely on a scattered collection of random video clips, those who achieve true proficiency understand the value of a structured educational framework. At Lets Paint Face Painting School, we don’t just teach you how to paint a face; we guide you through a transformative journey from a casual interest to a high-level career. Maria Mitchell’s “Inspiring Expert” approach is designed to lower the barrier to entry, ensuring you feel empowered and professional at every stage of your development.
From Hobbyist to Professional Face Painter
The lion is a foundational staple, but it’s only one piece of a complete artistic repertoire. Once you’ve mastered the basic feline structure, you’ll find that these techniques apply to a wide range of Animal Face Painting Designs. Transitioning from a hobbyist to a pro requires more than just artistic talent; it demands business acumen and technical excellence. If you’re feeling the spark of ambition, our guide on how to start a face painting business provides the roadmap you need for success in 2026. By enrolling in The Ultimate Face Painting Course, you gain access to a comprehensive curriculum that covers everything from sponge mechanics to professional kit management.
Join the Ultimate Face Painting Course Community
One of the greatest benefits of joining Lets Paint Face Painting School is the supportive community of fellow artists. Practicing alone can be difficult, but receiving professional feedback on your designs accelerates your growth exponentially. You’ll move beyond the basics of an easy lion face paint tutorial and dive into specialized modules like Superhero Face Painting Designs or seasonal favorites like Christmas Face Painting Designs. This structured approach ensures you aren’t just copying a design but truly understanding the discipline of the craft as a serious professional.
The transition from a casual interest to a high-level career is a journey we are deeply invested in. We believe in your potential to turn your creative passion into a profitable side business or even a full-time professional path. Don’t let your artistic wonder fade after one successful design. Start your transformation today and see how far your talent can take you when guided by masters of the craft.
Ready to Unleash Your Creative Potential?
You’ve seen how a structured, layered approach turns a daunting task into a manageable masterpiece. By mastering specific sponge stippling for the mane and controlled line pressure for those delicate whiskers, you’ve moved beyond a basic sketch to a professional grade design. This easy lion face paint tutorial is your first step in building a versatile repertoire that delights children and impresses parents alike. Remember that every great artist started exactly where you are now; with a single brush and a spark of wonder.
Now that you’ve discovered the joy of professional techniques, it’s time to expand your horizons. You can Join Lets Paint Face Painting School and Master 100+ Designs to truly elevate your craft. When you access The Ultimate Face Painting Course, you’ll learn directly from industry expert Maria Mitchell and join a global community of aspiring professionals. Your journey from a curious beginner to a confident artist is a transformative path we’re honored to share. We can’t wait to see the incredible characters you’ll bring to life as you continue to grow.
Frequently Asked Questions
How do you do a simple lion face paint for a toddler?
To paint a toddler, focus on “impact areas” like the forehead and cheeks while keeping the mouth and eye areas clear. Use a sponge to quickly dab a golden crown mane and add a small heart-shaped nose with three whisker dots. Because toddlers are often restless, speed is your best friend. This simplified approach ensures they’re happy with their transformation before they lose interest in sitting still.
What colors do I absolutely need for a realistic lion design?
You absolutely need four essential colors: bright yellow or gold, white, orange or light brown, and black. Yellow provides the radiant base, while white creates the muzzle and eye highlights. Use orange for mane depth and black for the feline features and whiskers. At Lets Paint Face Painting School, we recommend glycerin-based paints because they allow for the effortless blending required to make these colors look truly professional.
How do you paint a lion mane on a face without it looking messy?
The secret to a clean mane is using a stippling or dabbing motion with your sponge rather than swiping the paint. Start with your darkest orange at the outer edges of the face and work inward toward the yellow base. Use quick, outward “flicks” with a brush or the corner of a sponge to suggest wild fur. This technique prevents colors from becoming muddy and maintains the high-impact look of the design.
Can I use regular acrylic or watercolor paint for this tutorial?
No, you should never use regular acrylic or watercolor paints on the skin. These products aren’t designed for cosmetic use and can cause severe allergic reactions or skin irritation. Always choose FDA-compliant, cosmetic-grade face paints. Professional products are specifically formulated to be flexible on the skin and safe for all ages. Following an easy lion face paint tutorial correctly starts with prioritizing the safety of your model.
How do I make the lion face paint stay on during a hot outdoor party?
To ensure your design stays vibrant during a hot outdoor party, use professional-grade paints and keep your layers thin. Thick paint is more likely to crack or peel when the skin perspires. You can also apply a light mist of cosmetic setting spray once the design is dry. Proper water control during the loading of your sponge is vital; a damp, tacky sponge creates a much more durable bond than a wet one.
What is the easiest way to remove face paint from a child’s skin?
The easiest way to remove face paint is using mild soap, warm water, and a soft washcloth. Gently massage the soap into the design to break up the pigment before rinsing. For darker colors like black or deep orange, a small amount of baby oil or a gentle oil-based cleanser can help lift any remaining tint. Lets Paint Face Painting School always emphasizes using high-quality paints that are designed for easy, stain-free removal.
How long does it take to paint a full lion face for a beginner?
As a beginner, expect to spend about 10 to 15 minutes on a full-face lion design. This allows you enough time to focus on symmetry and clean line work without feeling rushed. As you gain confidence with this easy lion face paint tutorial, your speed will naturally increase. Experienced artists can often complete a high-impact version of this design in under five minutes, making it a staple for high-volume events.
Do I need expensive brushes to get professional-looking lion whiskers?
You don’t need expensive brushes, but you do need the right synthetic tools. A #4 or #6 synthetic round brush is perfect for whiskers because it maintains a sharp point and has a firm “snap.” These brushes are affordable and provide the precision needed for professional feline details. Focus on brush care and proper loading techniques rather than a high price tag to achieve those delicate, tapered whisker strokes.
